
Showing posts with label Italian. Show all posts

Monday, November 22, 2010

focaccia di patate

Have you guys seen this? I hadn't until yesterday, and now my life will never be the same.


I don't know what (besides procrastination) brought me to this recipe, because until now, I've never really been a fan of focaccia. I like the idea of it, but there are just so many bad ones around that taste like they've been around for a little too long... You know what I mean, right? Like their oiliness, which should be rich and pleasant, is always just, well, oily. I'm guessing poor quality oil is the problem with many of these commercially made focaccia. And what's with taking one of these, filling it with sun-dried tomatoes, avocado and cheese (a combination that really needs to be sent back in time to 1993, FOREVER) and squashing them into oblivion with a 3 tonne sandwich press? It's never as good as you want it to be, and stuffed with 'gourmet' ingredients it always costs more than you expect. RANT. But hey guess what? Focaccia is the absolute bomb, when you make it at home with a potato.

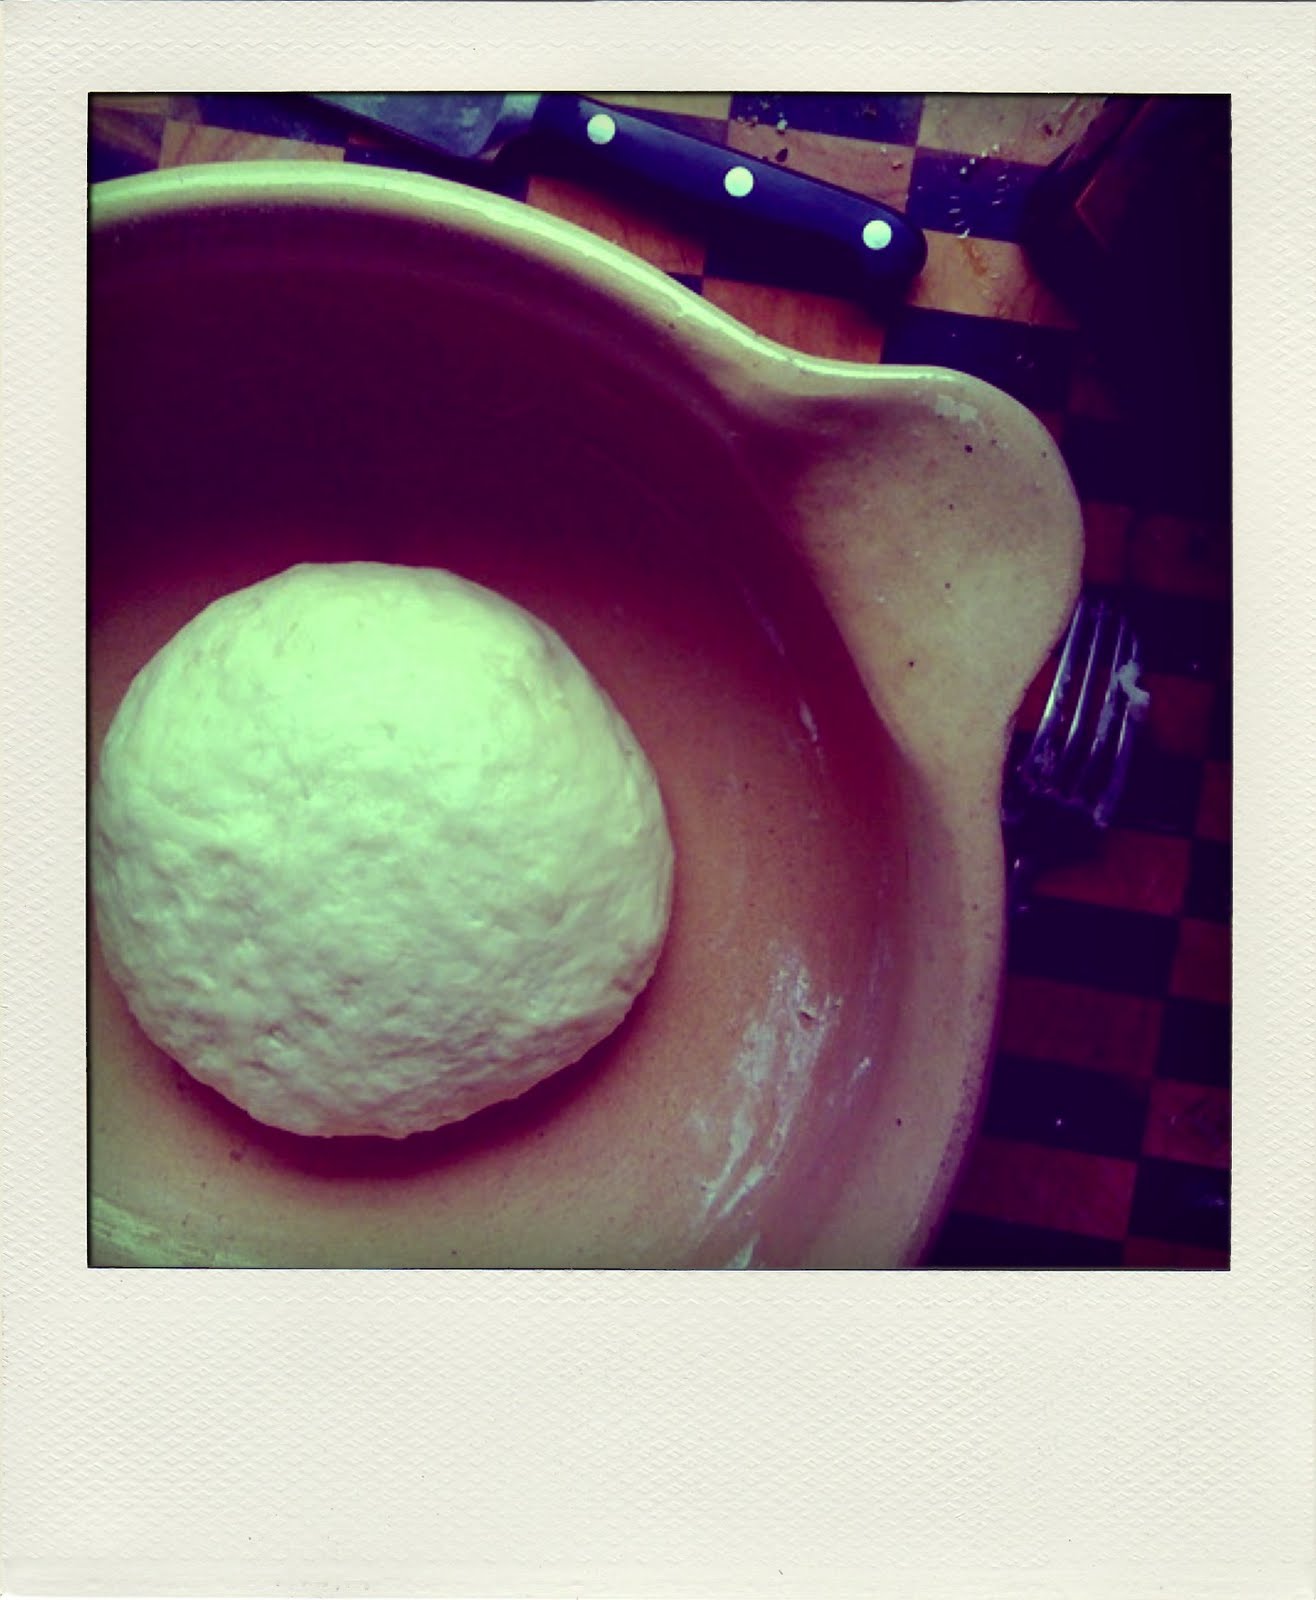


This is Luisa from The Wednesday Chef's recipe, first published at the beginning of 2008, and the bread is so good, that I'm jealous of all those people who've been making it since then. Is has a dense, chewy crumb and is moist and so delicious that you can eat it on its own; this is the marker of a wonderful bread. The magic element here is a mashed boiled potato (really!), which you add to the regular flour, water, yeast mix, enabling you to achieve a superb texture and perfect density. The dough comes together like a dream and needs minimal kneading, so it's great for new and/or hesitant bread makers. I've followed Luisa's example and topped mine with tomato and oregano, adding a brush of garlic oil to up the ante, but olives and rosemary or sliced potatoes and parmesan - or whatever you dream up - would be great too.


One more thing: you need to use good oil here - I don't mean top shelf at Enoteca Sileno, but something with enough flavour to make the bread really shine (visually and flavour-wise). Think about the fact that the flavour of the oil really comes through here. After all, if you wouldn't dip a bit of bread into a little bowl of balsamic and Criso blended vegetable oil, you probably shouldn't put that stuff into your bread, either.

Potato Focaccia
Makes one 8-inch focaccia
Adapted only slightly from The Wednesday Chef

1 medium floury potato
2 cups bread or plain flour, plus more as needed
1/2 tsp dried yeast or 1 tsp fresh yeast
A pinch of sugar
1 1/2 teaspoons salt
2/3 cup warm water
3 tablespoons extra-virgin olive oil
2 Roma tomatoes, sliced crossways
1 to 2 teaspoons dried oregano
Coarse or flaked sea salt

1. Put the potato in a small saucepan with enough water to cover. Place over high heat, covered, and bring to a boil. Add a handful of salt. Simmer until the potato is tender when pierced with a knife, around 20 - 25 minutes. Drain and let the potato/s it cool. When cool, peel and mash finely with a fork. Set aside.

2. Pour the yeast into a large mixing bowl and add the pinch of sugar. Slowly add the warm water in a thin stream, using a fork to help dissolve the yeast entirely. Let the mixture stand for a few minutes.

3. Add the flour to the yeast water and stir with your fork to incorporate, adding the mashed potato and the salt. The dough will be thick and shaggy as in the picture above - don't worry about this! When it is looking fairly even, add 2 tablespoons of the olive oil and knead the dough by hand, pressing against the side of the bowl, for around a minute, or until it is pretty smooth. It should come together pretty quickly. Add more flour if the dough is too sticky to handle. Form the dough into a ball and let it rest, covered with a kitchen towel, in the bowl for an hour.

4. Cut a piece of baking paper to fit the bottom of an 8-inch cake tin. Gently lift the soft dough from the bowl and place it in the cake in, patting it out so that it fits snugly. Cover the top of the focaccia with the tomato slices and sprinkle the oregano and a large pinch of coarse salt over, then drizzle with the remaining tablespoon of olive oil. Let the dough rest for another hour - it should puff up again nicely.

5. Halfway though the resting time, turn the oven on to preheat at 220 degrees. When resting is complete and oven ready, bake focaccia for 40 minutes, turning the pan halfway through. Let cool on a rack for 20 minutes before removing the focaccia from the pan - otherwise it may break.

Friday, July 23, 2010

rocket and pistachio pesto

Just becase you love food, doesn't mean you always find time to cook. I'm sitting here thinking about how one of my typical days in recent weeks might be represented in a pie chart, but I'll spare you that. That would just be another way to procrastinate - and it has already made me want to bake pie. At the moment, most of my day is spent reading and writing, a little bit is spent sewing and a very, very small amount is spent cooking and eating. Being in the middle (or closer towards the end, but it still feels like the freaking middle) of a PhD sometimes makes me forget about food; this is when I can't be bothered cooking for myself and I find myself considering the possibility of eating while I sleep via intravenous. But other times, I want to cook a whole Blumenthal buffet with multiple courses and towering translucent wobbly jellies from children's storybooks and Silky's pop biscuits. But there's no time for all that. There is time for pesto, however.


It's the middle of Winter here in OZ and buying a big bunch of basil would be wrong on two counts (flavor, price). And with pistachios sitting in the cupboard after that glorious muesli the other week, the way forward was clear - Tessa Kiros' rocket and pistachio pesto. All you need is a handful of pistachios, some garlic and parmesan, a handful of rocket (arugula) and a nice fruity olive oil. You whiz it up the first bits in your blender or food processor - or if you're smarter than me and have finished your thesis you can do it in a pestle and mortar - and add the oil to make a very bright green and sharp/sweet pesto.

I've made this pesto lots of times now and it is so good - I sometimes even make it in the summer when basil is plentiful, just to mix things up a bit. It is great through pasta, of course. But it's also (especially!) awesome drizzled over golden roasted hasselback potatoes half way through cooking; the potatoes come out with this insane gold-green crust of nutty, cheesy flavour, making them a perfect side with something like roast chicken or a substantial and impressive contribution to a vegetarian spread (Tessa even recommends leaving out the cheese for coating potatoes, making this vegan-friendly). I've mixed this pesto into salad dressings, drizzled it on pizza and dolloped in into soups before serving. I've eaten it with fresh ricotta on toast.

If you're short on time, make this. It's very good stuff.

rocket and pistachio pesto
From Tessa Kiros' Falling Cloudberries

2 garlic cloves
60g (or 1/3 cup) shelled pistachios
60g rocket (or arugula)
40g parmesan cheese, grated
250ml (1 cup) olive oil

1. Crush the garlic to a lumpy paste with a little salt.

2. Pulse the pistachios in your blender to coarse bits. Add the rocket (I chop mine up a bit first) and continue to pulse until you have a relatively consistent, but coarse paste. Scrape this out into a bowl and stir in the garlic, parmesan and olive oil. Mix through well and taste for seasoning. Depending on the pepperiness of your rocket and saltiness of your cheese, you may want to add some salt (mine often needs a little to make it sing). You're done! If you don't use this right away, it keeps in the fridge for about a week, as long as the top is covered with a layer of oil.

Sunday, May 17, 2009

Cure for Sunday afternoon Autumn melancholy: Pear and Hazelnut Torta

Autumn Sunday mornings in Melbourne often begin a bit like the opening credits of Douglas Sirk’s 1955 film, All That Heaven Allows, I think. All red and yellow leaves and a gentle wind that stirs them like a warning for what lies ahead. Soft light makes everything glow like Technicolour and the whole scene is so lovely, that if you look for too long your chest begins to feel heavy with the weight of doomed romance or winter’s coming. What you need then, is something to eat that celebrates Autumn. Something wholesome and golden that reminds you how good the present moment can be.


Something with pears, perhaps? This little cure for Autumn melancholy is made from a recipe in this month’s delicious. magazine that I bookmarked right away. And it is everything I wanted it to be on that sort of a Sunday afternoon; it is a toothsome and nutty tart with hits of fragrant roasted pear scattered about on top. Something magic happens to it in the oven and the batter separates into a spongy, cake-like layer on the bottom and a chewy frangipane-like top layer. It comes out looking as if you’ve done something fancy – or time consuming, at the very least. It is shallow and not too sweet and would be delicious with a dollop of mascarpone, although I loved it warm on it’s own with coffee. A piece of this and a bit of Nina Simone on the stereo will sweeten your Autumn Sunday afternoon.


Pear and hazelnut torta
Serves 6

Note: to toast and remove skins from hazelnuts, place on an oven tray and roast for around 10 minutes or until they smell good and toasty. Be careful though – they burn real quick! While hot, put into a clean tea towel and rub vigorously until skins have been removed.


100g toasted hazelnuts with skins removed
½ cup (110g) caster sugar, plus 2 tsp extra to top
1/3 cup (50g) plain flour
½ tsp baking powder
pinch of salt
2 eggs
¼ cup (60ml) milk
1 tsp vanilla extract
80g unsalted butter, melted & cooled
20g extra butter, chilled and chopped
2 ripe but firm pears
icing sugar, to dust

Preheat oven to 170°C (or 190° in my slow old thing). Grease a 26sm round tart pan or quiche dish.

Place hazelnuts, caster sugar and 1 tablespoon of flour in food processor and whiz until the nuts are ground. Stop before they become too fine and form a paste. Tip this mixture into a large bowl. Sift in remaining flour, baking powder and salt. Whisk until thoroughly combined.

In a separate bowl, whisk eggs until slightly frothy, then add milk, vanilla and cooled butter, whisking to combine. Pour this into the dry ingredients and stir with a rubber spatula until well combined. The mixture might be runnier than what you’d expect of a regular cake batter. Scrape this into your prepared pan.

Peel, quarter and core pears then cut each quarter into 3 or 4 thin slices. If you’re neat and fussy, fan these by pressing gently on the quarter and transfer with a palette knife to the top of the batter. If you’re like me (lazy), do the best you can using only your fingers until it looks a bit like the picture. Repeat for both pears. Sprinkle top of the torta with extra caster sugar, concentrating on the pear fans and finally, dot fruit with chilled chopped butter.

Bake for 25 – 30 minutes, or until tart is golden and has puffed slightly (mine took 5 minutes longer even). Transfer to a wire rack and sift over a good layer of icing sugar. Allow to cool to warm then add another finer layer of icing sugar. Serve warm with cream or marscapone or at room temperature with coffee.

Sunday, April 5, 2009

(Cheat's) Ricotta Cannoli

This week I learnt that even when things are so busy that you can't find time to do your washing, there's still enough time to make cannoli. Amazing, huh? So I thought I'd better share, pronto.


The trick is, of course, to buy ready-made cannoli shells from the Italian grocery store and pipe them full of a light mixture of fresh ricotta, chocolate, pistachios and dried sour cherries. This means that these delicious Italian afternoon coffee-time treats are ready in only ten minutes. I served them the other evening as the dessert course of a late Friday night supper and they were a perfectly light conclusion to a lovely evening of wine and small bites.

I love all kinds of cannoli (including those stuffed with chocolate Italian pastry cream), but the ricotta versions are genius, I think. You could make them without the cherries or use cranberries instead, or just use nuts and cinnamon. Just tailor them to your preference and you can't really go wrong. If you've got 15 minutes to spare, you're set: 10 minutes to make, 5 minutes to enjoy with a strong espresso. And then maybe you can put the washing on.

Note: For Melbourne readers, I bought these cannoli shells at Mediterranean Wholesalers on Sydney Rd, Brunswick (a must-visit if you've never been). They are made in Italy and come in a pack of 10 and keep well in an air-tight container. Otherwise, try Italian grocery stores and bakeries.

(Cheat's) Ricotta Cannoli

6 large ready-made cannoli shells

About 400g fresh ricotta
4 tbsp icing (confectioners) sugar
1 tsp vanilla extract
finely grated zest of one lemon
1/2 tsp ground cinnamon
50g chopped pistachio nuts
50g dark or bittersweet chocolate, chopped or grated
1/3 cup dried sour cherries, pitted and chopped

Break ricotta into a medium bowl and sift sugar over. Add vanilla, lemon zest and cinnamon and beat with a handheld electric beater until smooth and well combined. Fold in remaining ingredients.

Place mixture into a piping bag with a large nozzle (or a strong freezer bag with a corner cut off) and pipe into shells. Cannoli are ready but keep quite well for a day covered in the fridge.
Related Posts with Thumbnails