Showing posts with label bread. Show all posts

Tuesday, June 12, 2012

homemade flour tortillas

One thing I love about working from home is getting little bits and pieces of things done between writing sessions. In all honesty, it doesn't always work; mostly I get too excited/distracted by the little bits and pieces and everything goes out of whack and the day is ruined. So I try to get into the office most days. But sometimes - once in a while - I stay home and everything just works. I get to hang out with Quincy, get some washing done, eat a better lunch and everything on my work list gets crossed off. Those days make me feel like I'm really winning at life.


Tragically, today is not one of those days. But that's okay. I've written a little, nursed my slightly swollen throat with constant sips of ginger tea like the hypochondriac I have become, and I've made flour tortillas.


Homemade flour tortillas are both really easy to cook and significantly more delicious than the store-bought we typically find in Australia. They're fluffy, supple and even taste good cold - which is more than I can say for those snowy white discs in the plastic packaging (home very very late one night I ate one straight out of the pack and decided, even in my jolly state, that next time I wanted to taste a cold commercially-made tortilla I could just mix some flour with water to a smooth paste in a teacup and drink it).


To achieve that really nice crepe-like texture, you need to include some kind of fat. I will happily admit that these ones are made with lard, just as those you typically find in Mexico are. That super-white, greasy fat definitely produces the finest tortillas with the best kind of bubbling and flakiness. But I understand that cooking with animal fat is not for everyone. The good news is that you can easily swap the lard for an equal amount of vegetable shortening and get a really similar result. And yes, you can make tortillas with olive oil and even butter; I have and they can also be very tasty, but you'll get a different result texturally and a less authentic flavour profile.


The other thing you can change up is the flour you use. Here I've used a combination of plain and atta flours and I really like the flavour this produces. The atta flour is also high in gluten and helps to produce a lovely smooth and elastic dough that is really easy to work with. So even if you're a homemade pastry or bread virgin, you can still make flour tortillas. It's kinda like getting to third base in the world of breadmaking: not as risky as a yeast-risen loaf (home-run), with an end result that's less reliant on experience - but still very, very sexy.*

And third base on a Tuesday afternoon is not too bad. There's days left yet to win at life.

*I do not necessarily agree with this analogy, but I don't have time to think it through.


Homemade flour tortillas
Makes 12


1 teaspoon salt
3/4 cup hot water
1 3/4 cup of plain (all-purpose) flour
1 cup atta flour (or wholemeal, or more plain)
75 g lard, roughly chopped (or vegetable shortening)

1. Add hot water and salt to a small bowl and stir to dissolve salt. Set aside.

2. In a large bowl, gently whisk the plain and atta flours with a fork to combine. Add the lard or shortening and, using the tips of your fingers, rub the fat and flours together until the mixture resembles coarse crumbs.

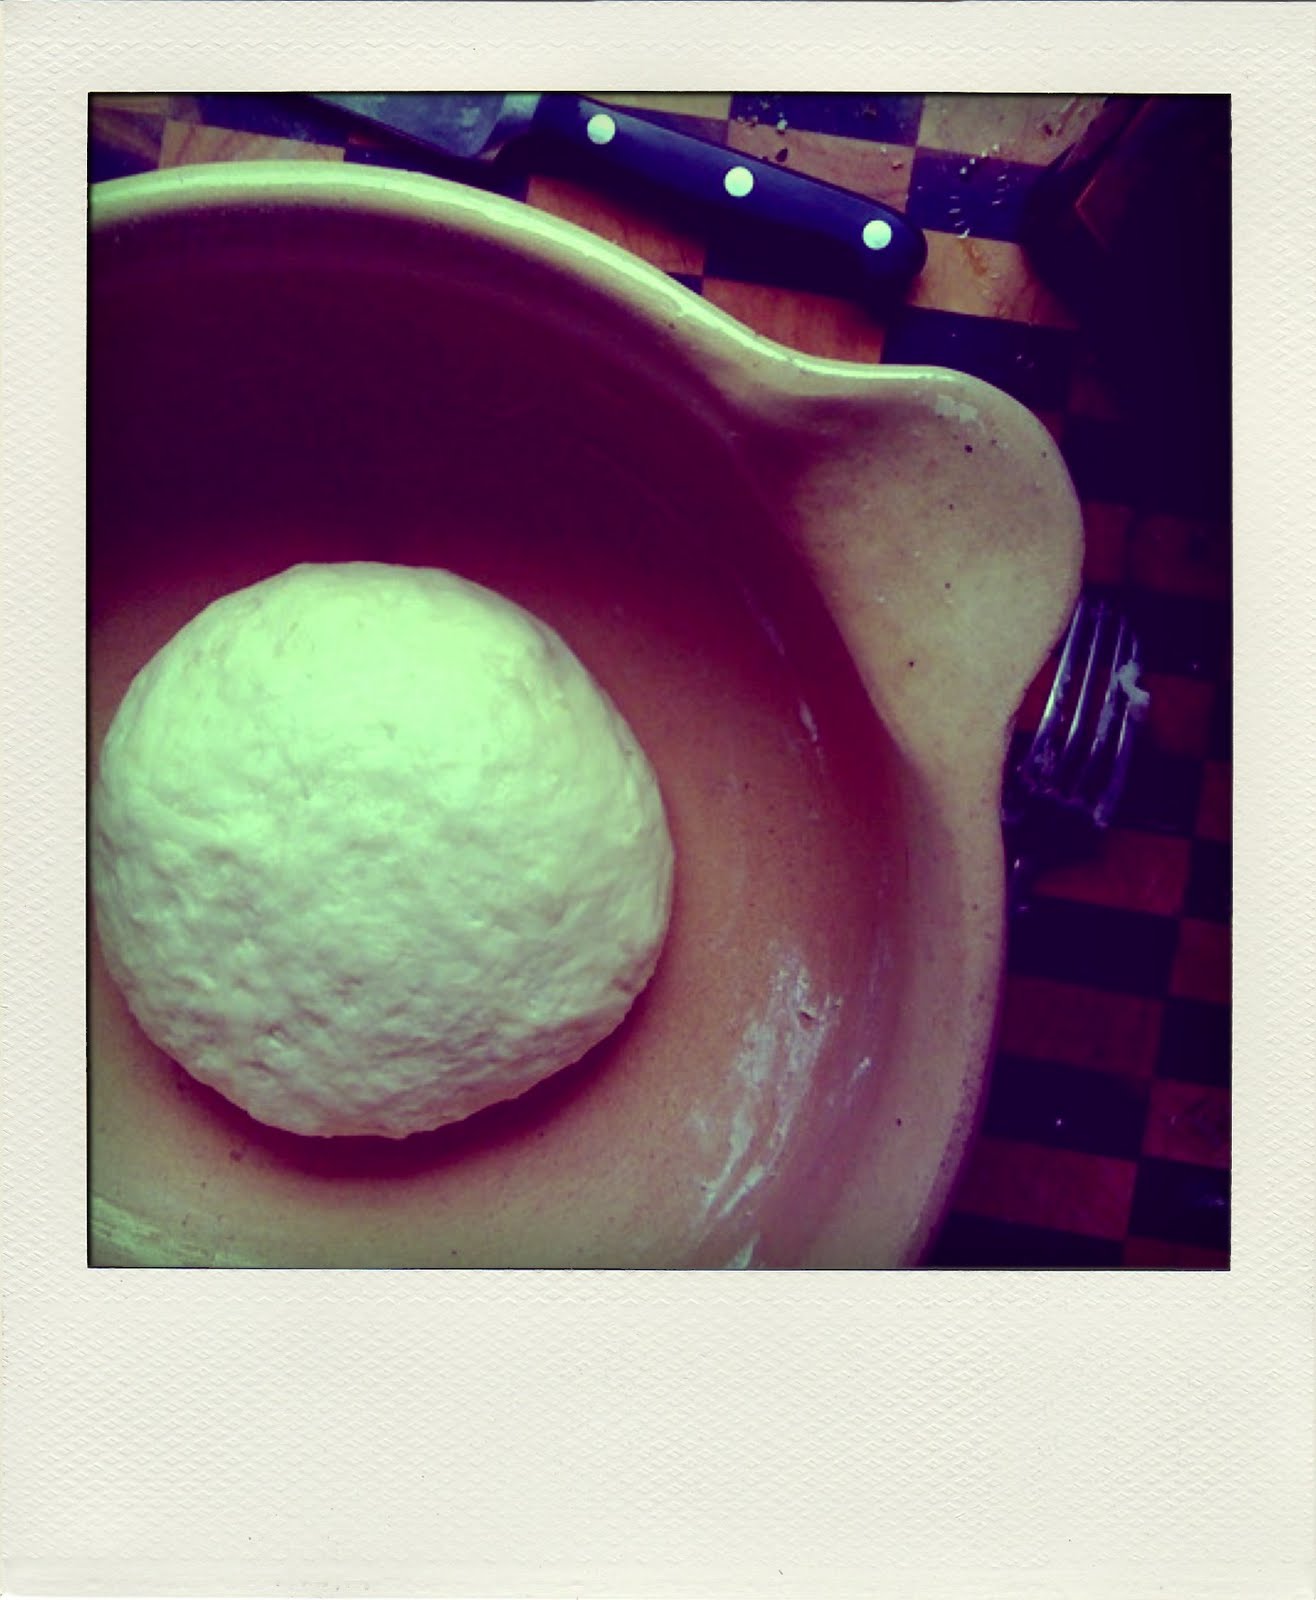
3. Add 3/4 of the salted water and use a fork to combine. Continue to add as much water as necessary to bring the mixture together in a stiff dough; different flours will have different absorbencies. Use your hands to draw the mixture together in a ball and knead lightly on the counter until the dough is uniform and smooth - 3 - 5 minutes. Cut dough into 12 equal pieces and cover with plastic wrap. Leave to rest 30 minutes. This will relax the gluten in the dough and make it easier to work with.

4. To roll tortillas, very lightly dust the counter top and rolling pin with flour. Roll each ball until about the thickness of poster paper, or just before it becomes translucent. Stack tortillas on top of one another while you continue to roll.

5. To cook, heat a heavy based frying pan to medium heat. When it is hot, add the tortillas one at a time, for around 30 seconds each side. They will bubble up and brown in parts. Don't leave them in the pan too long, as they can dry out and become crispy instead of pliable. As you cook, keep the stack of cooked tortillas covered with a clean tea towel, doubled over, to keep them warm and soft. When cool, they store well in the fridge for about a week when wrapped.

Saturday, January 22, 2011

homemade bronx-worthy bagels

The first thing I wanted to eat once I'd finished the food lover's cleanse was bread. Specifically, bagels. I don't know why. But I'm glad, because it meant that I could try make some.


Try? Pfft. These were wonderful. I take no credit, though. I've been meaning to try these ever since Deb posted the recipe on Smitten Kitchen with photographs that almost bowled me over. Golden. Plump. Chewy. Fresh. I bookmarked them right away.


Growing up in Melbourne's north, a poor little Greek girl might not know what a bagel even is. Sad, isn't it? I (poor little Greek girl) knew some wonderful bread, and I knew what kolouria were (but do you? patience is a virtue...), but, really, what's so good about a bagel? I knew that there were things called bagels that people ate in Hollywood films and on American television shows all the time. But no bagel I'd ever eaten here had struck me as the kind of thing you'd want to eat every day - until I crossed the river, that is. The year I did my honours degree, I worked in a fancy delicatessen owned by a Jewish family in Prahran. Every morning I had to get up at 6 am and travel across to the wrong side of town and bust my ass for 12 hours or so serving people with one billion times more money than me. But I learned a lot about food. And, for the first time, I ate a wonderful bagels. The bagels we got in at Steve's place were from Aviv bakery - and sometimes we got bagels from Glicks. When they arrived in the morning they were golden, tender and still warm, and you'd always have a hard time putting them out without putting one aside for lunch to have with chevre and top quality smoked salmon - even if you'd already brought lunch from home. I've missed those fresher than fresh morning bagels - they'd been one of my favourite breakfast treats. Until now. I'm telling you, these are better than any bagels I've ever had - and I made them. Myself. I was home alone when they first came out of the oven and had a feeling that they might be TOTALLY excellent, but I needed confirmation. I passed a bagful to a helpful friend who fed them to a business partner from NYC, who gave these bagels the thumbs up on appearance, texture and flavour. I felt validated. And then I ate another one.


Can you imagine serving these to people fresh out of the oven after a big night out for a restorative brunch? Or better: how about sneaking out of bed in the morning to slide a few of these into the oven to awaken your (new?) lover with the best-ever scent of bread baking? Putty in your hands, my friends. You need to start these a little bit in advance, but they're not difficult by any means. You need to budget enough time to make a sponge, then the dough. Then you need to retard the dough (yep!) overnight in the fridge. You'll boil them briefly in the morning then throw them in your very hot oven for around 5 minutes. Then the world will be your oyster. I'm going to link to this precious recipe, because a) it's not mine and b) it's too bloody long to type out. But there are a few changes I made that are listed below. Enjoy.

Peter Reinhart's Bagels at Smitten Kitchen: totally bronx-worthy

Changes I made and some tips:

1. I substituted half the whole amount of bread flour used for all-purpose flour, simply because I ran out of bread flour. I don't necessarily recommend this, but thought I should note that the bagels still turned out wonderful and could thus probably be made very successfully with all-purpose flour, if that's all you have on hand.

2. Malt syrup? I could have gone to the health food store to investigate, but I subbed in honey and it worked a treat.

3. I didn't bake these all at once: I kept some unboiled, unbaked bagels in the fridge and used them over 3 days. The final day morning was pushing it a bit - they turned out a little flat. But you can have them ready to go in the evening and just finish them off at breakfast time. So handy!

4. Size matters: Deb made mini bagels. The original recipe makes larger bagels. I made something in between. I can put my hand in the air and admit that I, too, am a geek: I weighed each bit of dough to make sure the bagels came out evenly sized. I made my dough balls/rolls around 3 1/4 ounces each and got 17 bagels from this batch.

5. My first batch looked more like donuts than bagels. This was because the time between boiling and baking was too long - and I mean about 5 minutes. Try to boil as many as you can in one go and get those babies in oven ASAP. The sooner the better. They'll retain their bagely shape more and look so good you'll want to beat them up.

6. I topped mine with sesame seeds because I LOVE sesame bagels. But I can't wait to try other flavours. I've had requests already for blueberry. God help me - and my waistline.

Sunday, January 2, 2011

welcoming 2011 with homemade English muffins & the food-lover's cleanse

On New Years Eve at midnight we sat in Amy and Martin's backyard and watched fireworks, with a 41 degree day behind us and a cool change winding its way between us. Champagne in hands, we agreed that 2010 had been an asshole of a year. So we decided to celebrate its passing with homemade English muffins, smoked salmon and scrambled eggs the next morning. The muffins were so delicious that I couldn't be bothered persisting with the camera, so I took the picture below later in the afternoon when it was time for a snack; I took it at that time on New Years Day when the feelings of newness and promise begin to settle in, and your mind turns to getting down to it, or back onto it. Or whatever.


I'd been hoping to make these about 11 times a day recently, but kept running out of time. What a shame! I should have pushed harder, because on New Years Day we learned that homemade English muffins knock the pants off store-bought muffins. And using the first cookie-cutter I stumbled upon in my post-sangria haze resulted in smaller muffins than what you see in the shops: not mini, but petite, and perfectly sized so that you can eat two, instead of just one.

They're really easy to make, my friends! Yardena and Nicole can attest to this, as they sat at my kitchen bench watching me while we drank sorely-needed coffee. The muffin dough needs little kneading, and is enriched with milk, a little butter and an egg. After its first rise (of around 50 minutes) it is knocked back down, dusted in polenta and cut into the sweetest little puffy muffin shapes that were so cute we wanted to beat them up. Another 10 minutes later, they're ready to go and you toast them in a dry frying pan until browned. They're then finished in the oven for another 10 minutes or so and come out piping hot and begging to be split and spread with slightly salted butter. You should really make these.

It was a lovely day of eating and going to the cinema and feeling sleepy after the chaos of the last few weeks, but thankfully the last of its kind for a little while; the catch-up drinks, many meals out, celebratory drinks, sweet Christmas treats, BBQs, days of feasting and boxes of average chocolates all add up and suddenly you feel a bit blah. Or in my case, TOTALLY blah. You know what I mean right? This year I've decided to attack this by doing Bon Appetit magazine's Food-Lover's Cleanse. I came across it a couple of weeks ago and it looked perfect for me in a number of ways:

1. It uses the principles of detoxing and cleansing in a way that is relaxed but consistent; the foods are nutritious, there's limited dairy and some fish and a tiny bit of meat, limited wheat and no coffee or alcohol. It has been developed by a food-writer and registered dietician, so the focus is on flavour and healthfulness - not low and empty calorie foods.

2. It is (really!) fully of delicious-looking food made with lots of ingredients I already have. This is a big issue for many people who want to embark on a program with a planned menu: buying all the spices you don't normally use, more fish or particular (more expensive) cuts of meat and eating something different for every meal, every day, things really begin to add up. The other thing that is unusual and great about the Food-Lover's Cleanse is that it uses leftovers! Roasted vegetables form last night's dinner get reinvented as a salad for lunch the next day. One bigger batch of citrus salad dressing is used multiple times over a week. I like this! Of course any sort of new program will have you spending a little, but when a significant portion of your time, effort and money is spent on food anyway (as with me), this doesn't seem like a big deal.

3. On a related note, the recipes are highly cutomizable once you understand the types of food and guidelines for the cleanse. This means that the program can be adjusted for seasonal and budgetary constraints. Being in Australia means that we're in summer now, while the plan has been developed for people who can get their hands on winter fruit and vegetables. I'm going to change up what I need to and blog about those substitutions and tweaks here, with little notes on what worked particularly well and what I wouldn't try again.

4. It means I get to make a whole range of recipes I've never tried before - including some from Yotam Ottolenghi's cookbook Plenty, that I've been wanting to get for ages (hopefully it will convince me to finally buy the book). Doing things like this usually means that I end up a couple of new recipes that can be thrown into the everyday rotation, which is always great.

I'll post on my progress and any deliciousness the plan puts me in contact with over the next two weeks. Join me if you like, or use me like a guinea pig and wait until I've tested the waters and come out on top (fingers crossed). So far, so good though. I'm writing this after eating a superb mushroom, onion and thyme omelet, drinking a cup of camomile tea. The sun is out and the caffeine withdrawal headaches haven't kicked in yet. I'm thinking about how lovely those muffins were yesterday, and about how great this year might be.

Homemade English muffins
From Gourmet Traveller 2010

1 tbsp dried yeast
pinch of caster sugar
60 ml lukewarm water
600 gm (or 4 cups) plain flour
1 1/4 cups milk, warmed
1 egg
40 gm butter, melted
1 tsp kosher salt
Polenta or corn meal, for dusting

1. Combine yeast, sugar and lukewarm water in a bowl and whisk with a fork until combined. Stand until foamy (5 - 10 minutes).

2. Add flour, milk, eggs, butter and salt. Mix well to combine. Turn this onto a floured surface and knead until the dough is smooth (between 3 and 5 minutes). Place dough in a greased bowl, cover with plastic wrap and stand until doubled in size (40 - 50 minutes).

3. Preheat oven to 180C. Dust your work surface with polenta. Knock back the risen dough and press out or roll to around 1 cm thick. Cut out muffins using a 9 cm cutter (or a little smaller, if you want to make petite muffins like me), re-rolling scraps to make more. I got around 20 out of my batch. Set these aside to prove for 10 minutes or so.

4. Heat a large frying pan over medium heat and toast muffins in batches until golden both sides (5 - 10 minutes). Transfer these to an oven tray and and bake, turning once, until cooked through and puffed (8 - 10 minutes).

Muffins are best eaten on day of making, but they can be toasted the following day, or frozen while fresh.

Monday, November 22, 2010

focaccia di patate

Have you guys seen this? I hadn't until yesterday, and now my life will never be the same.


I don't know what (besides procrastination) brought me to this recipe, because until now, I've never really been a fan of focaccia. I like the idea of it, but there are just so many bad ones around that taste like they've been around for a little too long... You know what I mean, right? Like their oiliness, which should be rich and pleasant, is always just, well, oily. I'm guessing poor quality oil is the problem with many of these commercially made focaccia. And what's with taking one of these, filling it with sun-dried tomatoes, avocado and cheese (a combination that really needs to be sent back in time to 1993, FOREVER) and squashing them into oblivion with a 3 tonne sandwich press? It's never as good as you want it to be, and stuffed with 'gourmet' ingredients it always costs more than you expect. RANT. But hey guess what? Focaccia is the absolute bomb, when you make it at home with a potato.


This is Luisa from The Wednesday Chef's recipe, first published at the beginning of 2008, and the bread is so good, that I'm jealous of all those people who've been making it since then. Is has a dense, chewy crumb and is moist and so delicious that you can eat it on its own; this is the marker of a wonderful bread. The magic element here is a mashed boiled potato (really!), which you add to the regular flour, water, yeast mix, enabling you to achieve a superb texture and perfect density. The dough comes together like a dream and needs minimal kneading, so it's great for new and/or hesitant bread makers. I've followed Luisa's example and topped mine with tomato and oregano, adding a brush of garlic oil to up the ante, but olives and rosemary or sliced potatoes and parmesan - or whatever you dream up - would be great too.


One more thing: you need to use good oil here - I don't mean top shelf at Enoteca Sileno, but something with enough flavour to make the bread really shine (visually and flavour-wise). Think about the fact that the flavour of the oil really comes through here. After all, if you wouldn't dip a bit of bread into a little bowl of balsamic and Criso blended vegetable oil, you probably shouldn't put that stuff into your bread, either.

Potato Focaccia
Makes one 8-inch focaccia
Adapted only slightly from The Wednesday Chef

1 medium floury potato
2 cups bread or plain flour, plus more as needed
1/2 tsp dried yeast or 1 tsp fresh yeast
A pinch of sugar
1 1/2 teaspoons salt
2/3 cup warm water
3 tablespoons extra-virgin olive oil
2 Roma tomatoes, sliced crossways
1 to 2 teaspoons dried oregano
Coarse or flaked sea salt

1. Put the potato in a small saucepan with enough water to cover. Place over high heat, covered, and bring to a boil. Add a handful of salt. Simmer until the potato is tender when pierced with a knife, around 20 - 25 minutes. Drain and let the potato/s it cool. When cool, peel and mash finely with a fork. Set aside.

2. Pour the yeast into a large mixing bowl and add the pinch of sugar. Slowly add the warm water in a thin stream, using a fork to help dissolve the yeast entirely. Let the mixture stand for a few minutes.

3. Add the flour to the yeast water and stir with your fork to incorporate, adding the mashed potato and the salt. The dough will be thick and shaggy as in the picture above - don't worry about this! When it is looking fairly even, add 2 tablespoons of the olive oil and knead the dough by hand, pressing against the side of the bowl, for around a minute, or until it is pretty smooth. It should come together pretty quickly. Add more flour if the dough is too sticky to handle. Form the dough into a ball and let it rest, covered with a kitchen towel, in the bowl for an hour.

4. Cut a piece of baking paper to fit the bottom of an 8-inch cake tin. Gently lift the soft dough from the bowl and place it in the cake in, patting it out so that it fits snugly. Cover the top of the focaccia with the tomato slices and sprinkle the oregano and a large pinch of coarse salt over, then drizzle with the remaining tablespoon of olive oil. Let the dough rest for another hour - it should puff up again nicely.

5. Halfway though the resting time, turn the oven on to preheat at 220 degrees. When resting is complete and oven ready, bake focaccia for 40 minutes, turning the pan halfway through. Let cool on a rack for 20 minutes before removing the focaccia from the pan - otherwise it may break.

Friday, March 27, 2009

Soft White Dinner Rolls

Finally things are getting back to normal around here after a few weeks of (what must have been) alien interference with our electrical appliances. What have I been doing all this time without my computer (and my hairdryer)? Why, I've been baking, of course!


I feel like a bit of a phony admitting this, but I'm pretty crap at making bread. Which is so sad! Especially when, one Autumn afternoon, you cook up a big pot of sweet butternut pumpkin soup and realise that nothing would go better with a big bowl than a warm, freshly baked dinner roll.

Funny, right? I mean: 'dinner roll'. I hadn't thought about them in years until we had lunch the other week at our wonderful local French restaurant Libertine and they served up the tiniest, most dense and delicious warm dinner rolls (with real French butter) and I remembered how great those little rolls could be. So elegant! And then I remembered a clipping I'd clipped many moons ago in which Nigella Lawson gave instructions for an easy milk-bread dinner roll that she promised anyone could make. And yes, my friends, I can confirm that anyone can make these delicious little...dinner rolls.


Okay, so I just like saying that. Dinner rolls. But really, these are wonderful - like something a country town bakery might make. Soft and super-white and torn open while still warm, all they need is a scrape of butter to become perfect. If you've got any left later on, they're brilliant with jam for breakfast. And if you've still got some left, you can freeze them to whip out at a moment's notice when friends drop by. And then you can show off because, yes - you baked your own bread.

Soft White Dinner Rolls
From Delicious. magazine

31/2 cups plain flour, plus extra for dusting
3 tsp dried instant yeast
1 tbs caster sugar
11/2 cups milk
25g unsalted butter

For topping:
1 egg, beaten
1 tbs milk
1 tbs sesame seeds

Combine flour with yeast, sugar and 1 tbsp of salt in a large mixing bowl.

Warm milk and butter over medium heat until butter begins to melt (around 2 minutes). Pour butter and milk mixture into dry ingredients and mix with a fork to make a rough dough. If it seems too sticky, add a little more flour. Using a machine with a dough hook or your hands, knead with until the dough is smooth and silky. This should take around 5 minutes.

Put the ball of dough into a greased bowl and turn to coat.. Cover with plastic wrap and leave in a warm place to rise for around 1 hour or until doubled in size.

Grease a baking sheet. Punch down the dough and turn out onto a floured surface. Pull off golf-ball sized pieces of dough and form into little balls, forming them into five rows of six rolls. Place them around 5mm apart on all sides to ensure that they meet once risen. Cover the rolls with a tea towel and leave to rise for 30 minutes. Meanwhile, preheat oven to 225 C.

When rolls have re-puffed, beat together egg, milk and a pinch of salt to make the glaze. Brush the rolls tops with this mixture and sprinkle tops with sesame seeds (or poppy, if you're so inclined). Bake the rolls for around 15 minutes until they are golden brown. Serve immediately or transfer to a wire rack to cool.

To freeze rolls (best done same day of baking) cool, double-wrap with cling film and pop into freezer.
Related Posts with Thumbnails